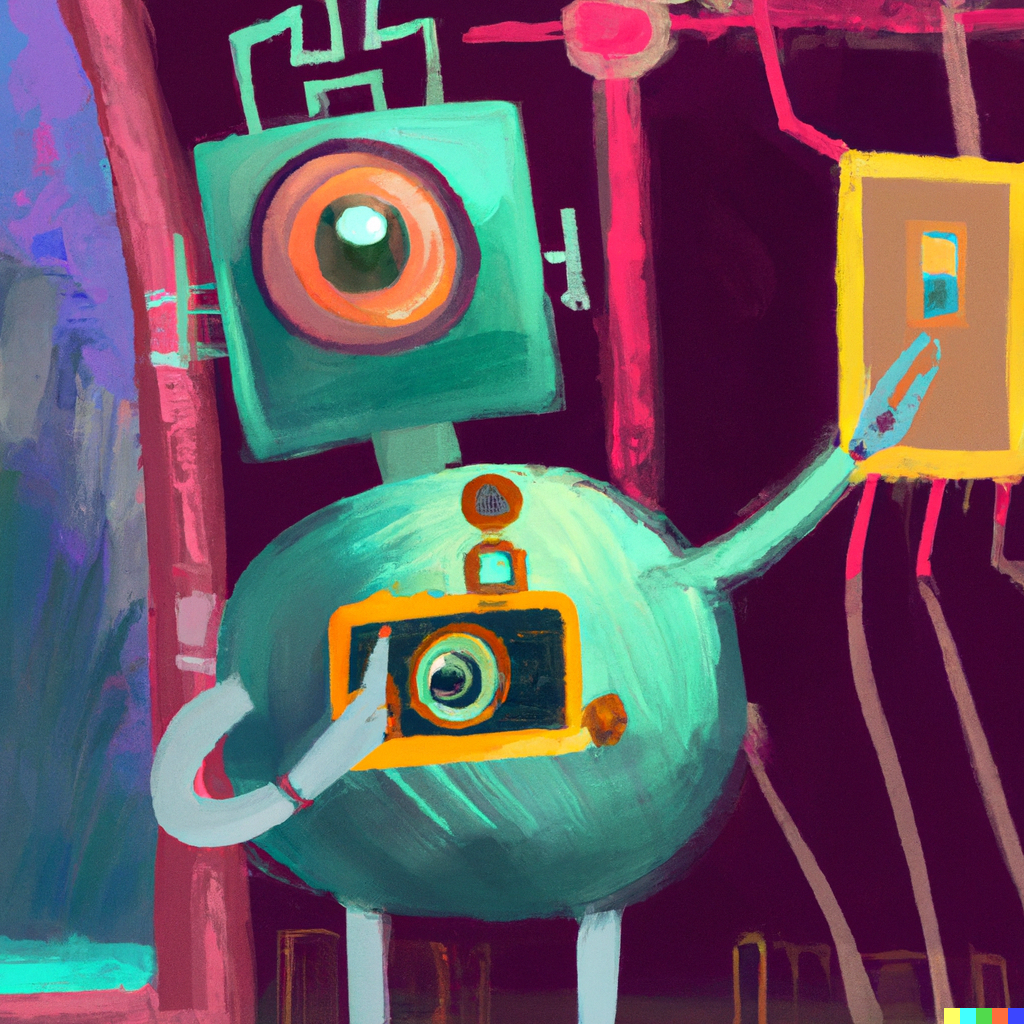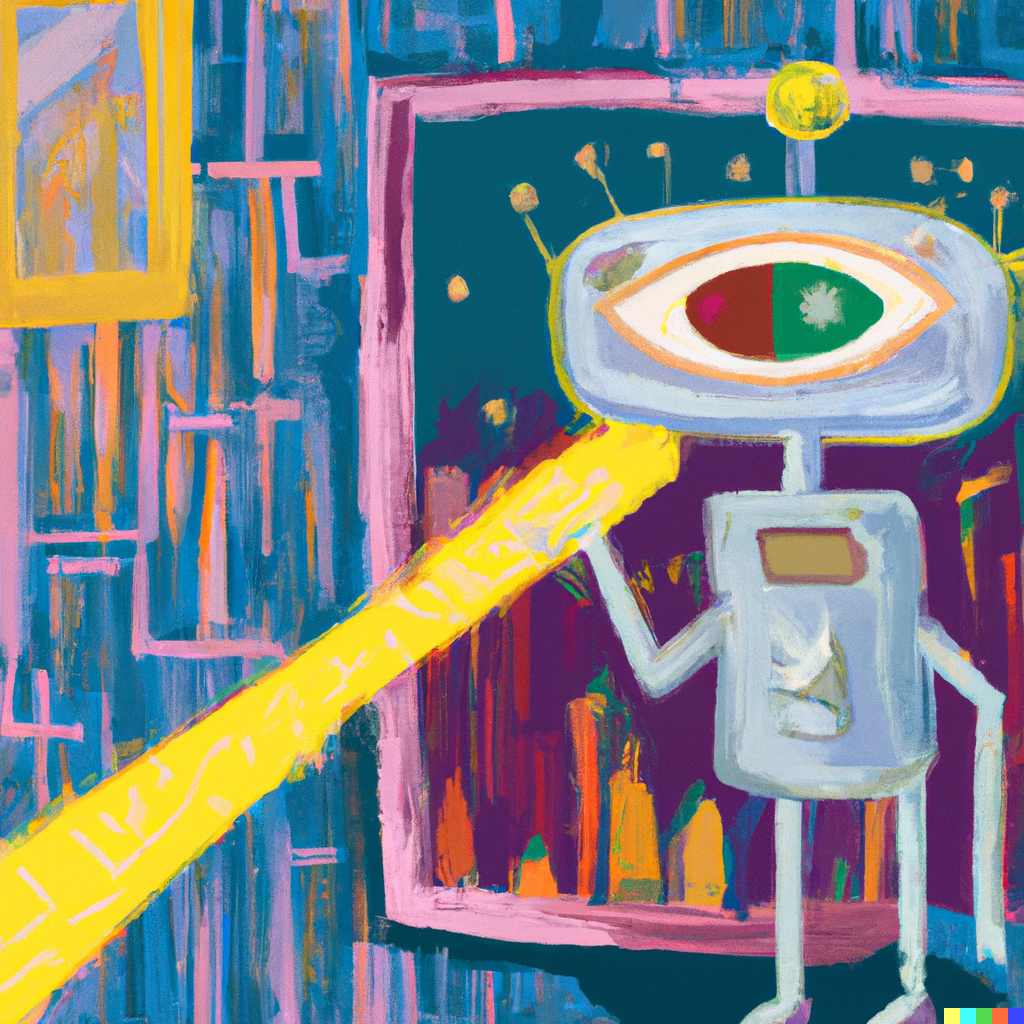
Computer vision (CV) is a fascinating field that allows machines to perceive and understand the visual world. By incorporating computer vision into your Raspberry Pi-based robot project, you can enhance its capabilities and enable it to interact with its environment in a more intelligent and intuitive manner. In this blog post, we will explore the benefits of adding computer vision to your robot project and provide a step-by-step guide on how to get started.
Computer Vision Use Cases in Robotics:
Below are just a few examples of how Computer Vision can enhance robots and robotics projects. CV can empower extremely sophisticated automation, or simplify a household task or two.
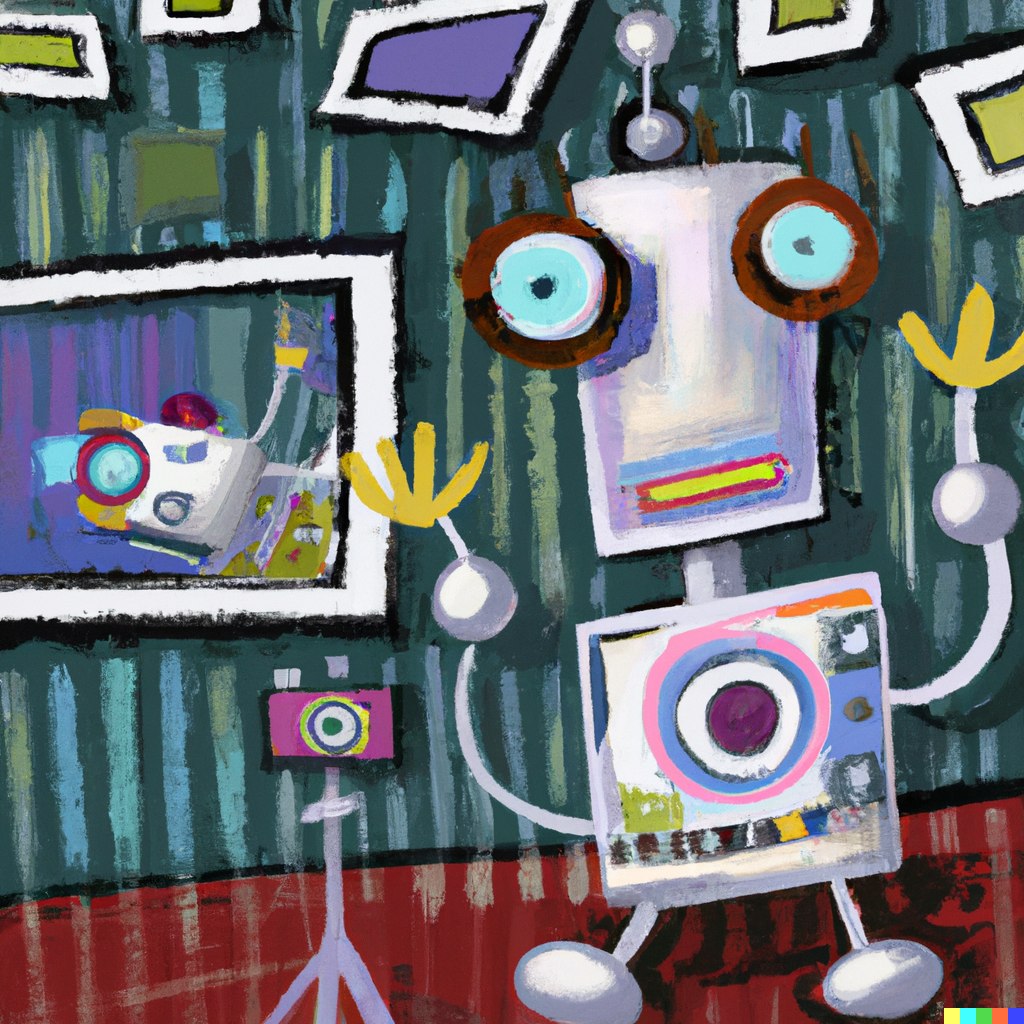
Object Detection and Recognition:
With computer vision, your robot can identify and track objects in its surroundings. This opens up a wide range of possibilities, from detecting and avoiding obstacles to recognizing specific objects or people.
Autonomous Navigation:
By using computer vision algorithms, your robot can analyze its environment and make decisions on how to navigate through it. This can be particularly useful in scenarios where GPS or other navigation systems may not be available or accurate.
Facial Recognition:
Computer vision can enable your robot to recognize and interact with specific individuals. This can be useful in applications such as home security or personalized assistance.
Gesture Recognition:
By analyzing hand movements, computer vision can allow your robot to understand and respond to gestures. This can be used for controlling the robot or for human-robot interaction.
Getting Started with Computer Vision on Raspberry Pi:
1. Hardware Requirements: To get started, you will need a Raspberry Pi board, a camera module (such as the Raspberry Pi Camera Module), and any additional sensors or actuators required for your specific project.
2. Software Setup: Install the Raspbian operating system on your Raspberry Pi and ensure that it is up to date. You will also need to install OpenCV, a popular computer vision library, on your Raspberry Pi. This can be done by following the official OpenCV installation guide for Raspberry Pi.
3. Capturing Images: Connect the camera module to your Raspberry Pi and write a simple Python script to capture images. This can be done using the picamera library, which provides a simple interface for controlling the camera module.
4. Image Processing: Use OpenCV to process the captured images. This can include tasks such as image filtering, edge detection, or object detection. OpenCV provides a wide range of functions and algorithms for these tasks, making it easy to implement computer vision capabilities in your project.
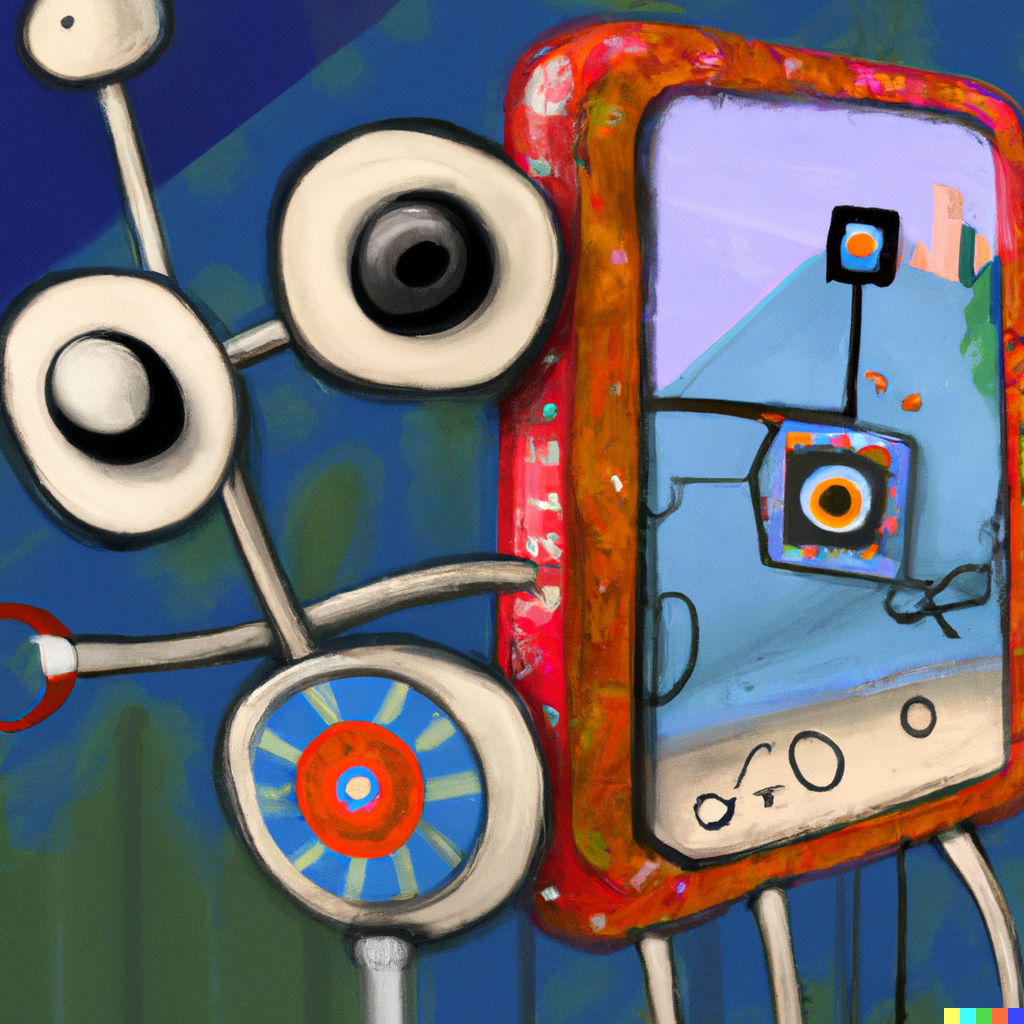
5. Integration with Robot Control: Once you have processed the images, you can use the results to control your robot. For example, if you are implementing object detection, you can use the detected objects’ positions to navigate around them or interact with them.
6. Iterative Development: Computer vision is a complex field, and it may take some trial and error to achieve the desired results. Start with simple tasks and gradually increase the complexity as you gain more experience. Experiment with different algorithms and parameters to optimize the performance of your computer vision system.
Adding computer vision to your Raspberry Pi-based robot project can greatly enhance its capabilities and enable it to interact with its environment in a more intelligent and intuitive manner. By following the steps outlined in this blog post, you can get started with computer vision on your Raspberry Pi and unlock a world of possibilities for your robot project. So, go ahead and explore the exciting field of computer vision and take your robot project to the next level!

